Showing posts with label Riveting. Show all posts

Sunday, June 26, 2016

Houston, we have rivets (a.k.a. Riveting the Spars)

Thanks to an understanding woman, I was able to get a lot done this weekend.  I decided to rivet the spars before I set the dihedral.

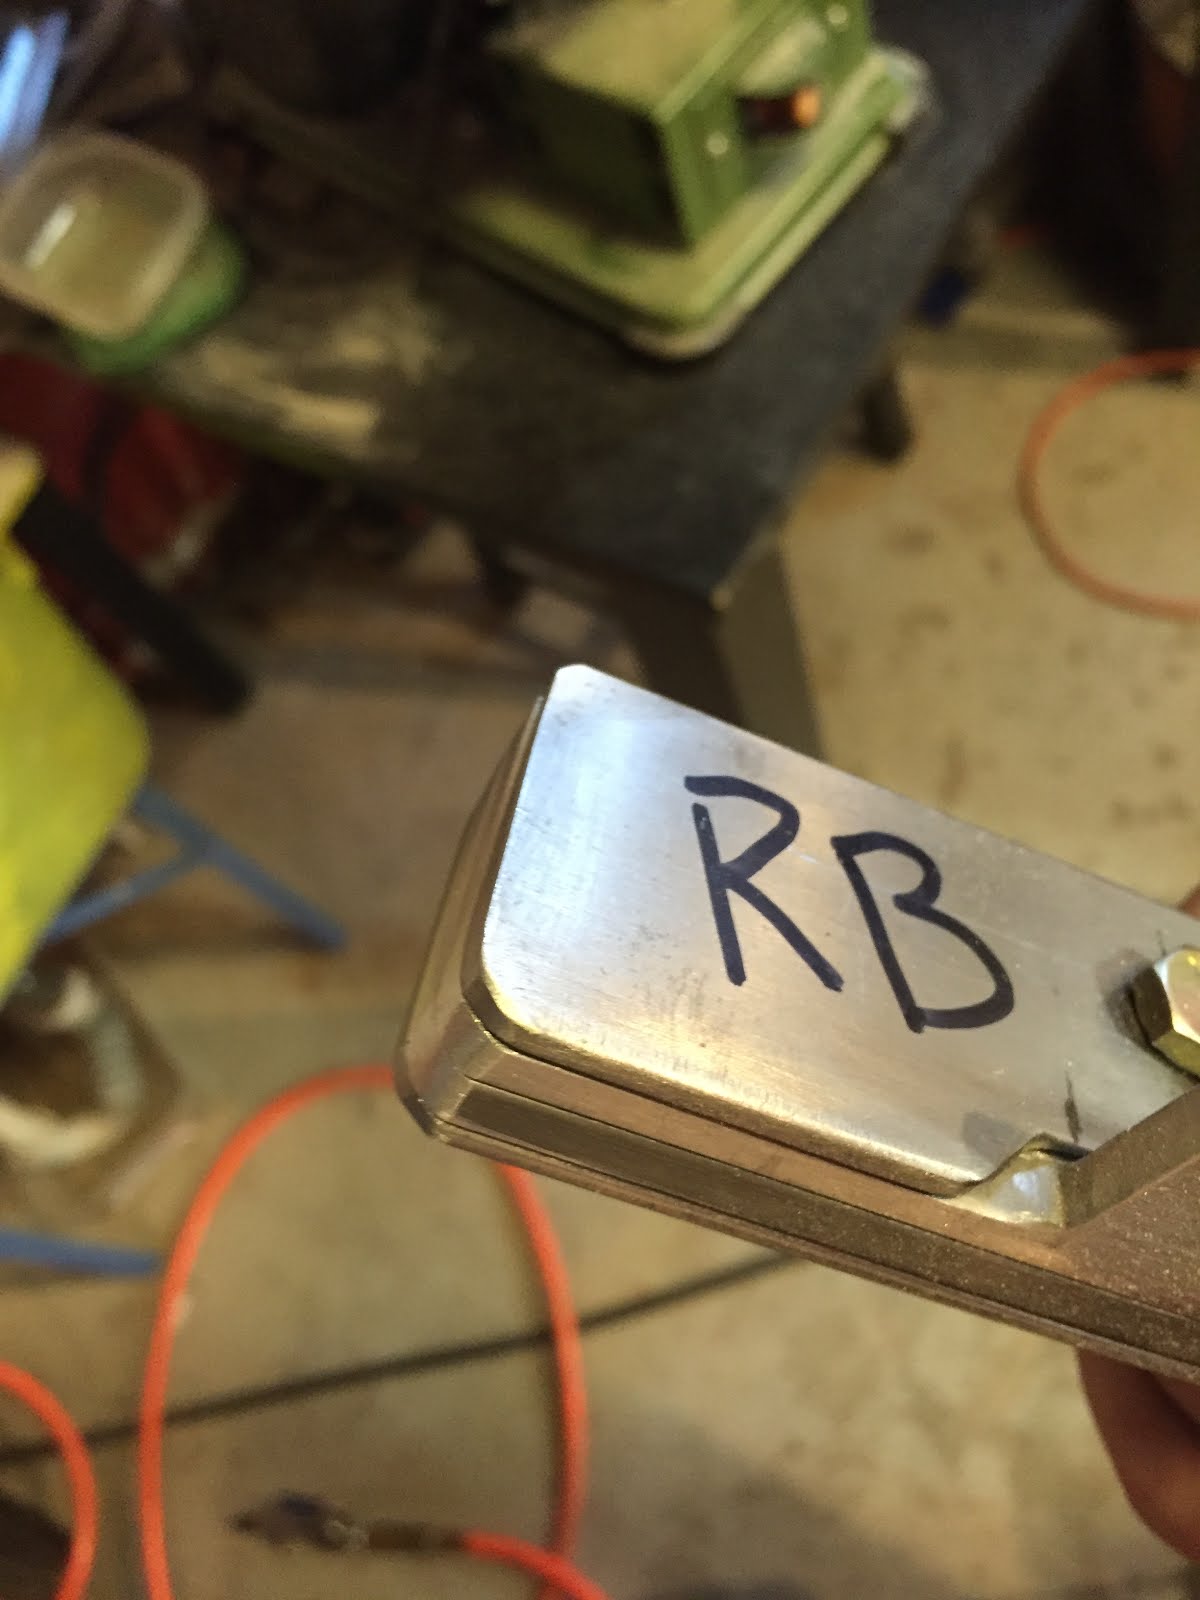
I started by clecoing the spar caps together without the web.  Then I used the benchtop sander to even up the edges and make the pieces look like they belong together.  Not a huge deal, but when I take the wings off, I want it to look like a proper piece.


I was happy with the results.  FYI, "RB" means right bottom spar.


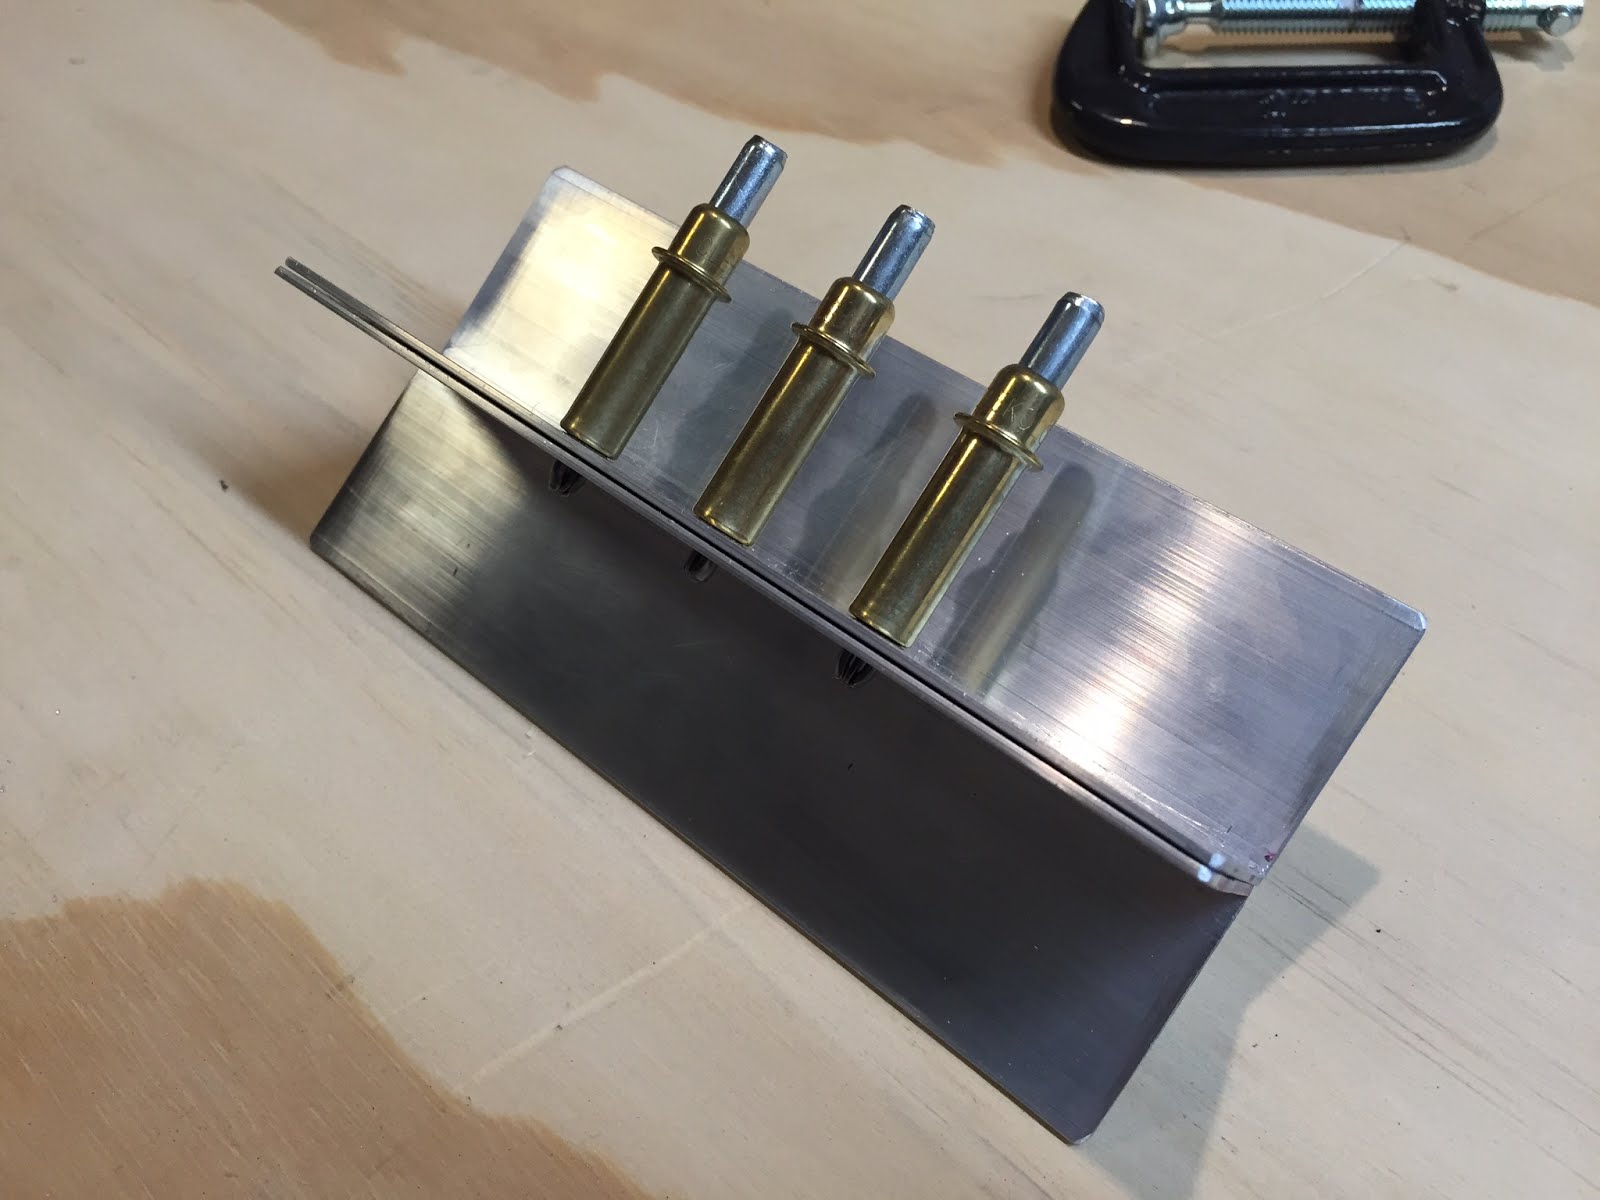
Next I drilled the holes for the tie down nutplate.  Tony Bingelis says to do this by drilling the bolt hole first, then thread the bolt on, and us it to hold the nutplate steady while you drill the rivet holes.  Not many pictures of the process, but it worked like a charm.  An eye hook will be added under the wing using this nutplate so I can tie the airplane down when parking.


Next I drilled the 3/4" hole in the left spar web for the pitot static tubes (these tubes go to the instruments to measure airspeed, altitude, vertical speed, etc.  If you want to learn more about these instruments, try this link.).


Next, I finished all of the pieces I have made to date by sanding, deburring, and cleaning off any dust and dirt.  Then I set up some plastic and laid all of the parts out.  The cardboard piece was used to make a key of sorts to help me remember what each part was.  It worked really well.


I primed my parts with this primer (picture below).  A lot of the feedback on Amazon is from guys that are building airplanes.  I heard good reviews elsewhere too.  So I decided to use it.  Word of warning:  this stuff is supposedly nasty, so use respirators and gloves. You might want to have some kids first too (seriously, read the label on the back!).  

Painted parts ready to assemble.  I like the gray.  Makes me feel like I'm working on an F-16...okay, maybe not.

Then I started setting rivets.  I tried on a practice piece with not a lot of luck, but that was because I was using a rivet that was too long for the piece.  I mustered up the courage to set some actual rivets, and I am happy with the results.  Haven't had to drill one out yet!

Here is a really quick video of me setting one rivet in the center spar.  I used 7 hits here, but later found 4-5 to be fine with the right pressure.  You just have to get a feel for it, but hopefully this gives you an idea of how hard to hit it.


The resulting rivet.  Let me know in the comments if you want more detail on this.  


Here is a shot of the progress on the right spar with the completed center spar in the back.  It is not a difficult process.  It just takes time.  So put a TV or radio in your shop.


I stopped after completing the top and bottom portion of the spar that has two rows of rivets (first 30").  I'm tired, thirsty, and the pool likes awfully nice after a day in a Florida garage with no A/C!

SIDE NOTE:  Check out Brandon's method for riveting.  This would be a much more expensive way to go, but the rivets would all be set the same and it would be a lot faster!  


Saturday, March 26, 2016

Arbor Press Modification

I'm using the arbor press method for setting my spar rivets.  I bought the Harbor Freight arbor press.  The general idea is that you add a rivet set in the base of the arbor press and set the rivet upside down in the spar.  A few taps with a hand sledge sets the rivet.

Tony Bingelis (of EAA fame) explains the process here:
http://www.eaa.org/en/eaa/aviation-communities-and-interests/homebuilt-aircraft-and-homebuilt-aircraft-kits/resources-for-while-youre-building/building-articles/metal/metal-spar-assembly-tips

Here are the mods I made:

  • Polish the ram that makes contact with the rivet
  • Mount a rivet cupped rivet set in the base
I don't have pictures of the polishing, but I removed the ram from the press and sanded it up to 400 grit sandpaper.  You'd be surprised how nice you can get it.  Then I used various polishing/buffing bits on my Dremel tool to get it mirror smooth.  The idea is that you do not want to add any irregularities to the rivet with a rough ram surface because that could become a stress point that might cause the rivet to fail.  Worth the work

Here are some pics of me mounting a .187 universal cupped rivet set (1/8th) in my arbor press base.  The method seemed to work well.

Lowered arbor press on base (sections of base are different sizes.  I chose the biggest one)

Marked the ram outline on the base and found the center.


Drill the hole.  I drilled with a 1/8" bit first to create a pilot hole.  Then drilled out with the 3/16" bit.  I also measured the length of the shank on the rivet set to determine my hole depth.  Not sure how important that is, but seemed like a good idea. (PS this is an old and super cheap drill press I bought over a decade ago.  Still going strong!)


The result...


UPDATE:  After riveting the spars, I realized that the center is not necessarily where you want to mount your rivet set.  the problem is when you go to rivet on the aluminum angle, the arbor doesn't clear the angle.  To fix it, drill the hole for your rivet set closer to halfway between the center and the back of the square you draw.  The good thing is, you can turn the table on the arbor to drill another hole.  If I did it again, I would drill the holes in your spar caps, take some measurements, then drill the hole for your rivet set.  My two cents...

I bought these drill bits at the big hardware store.  Went through it like butter!

Practice Piece

I haven't done a lot of work with metal, so I decided to get some aluminum from the hardware store and try to cut it, sand/file it, drill it, cleco it, and test out the HF rivet gun.  The metal was $8 for 3ft, and I have an idea on how to use the rest of it in the house.  So it is not  a total waste.

Here are a couple of quick shots.  I'm really glad I did this because it gave me some confidence with the bandsaw and drill press.  I'll definitely need to work to drill my holes in a straight line!  I'm also looking forward to getting my scotch-brite wheel this week.