Showing posts with label Tools. Show all posts

Saturday, December 9, 2017

Hurricanes, a Left Wing, a Change of Plans, New Tool, 3d Printing, and Beginning the Fuselage

That's quite the title, but it's been a really long time since I've updated this log, and a lot has happened.

Hurricane Irma

We live in the Tampa Bay area, and Irma was originally heading our way.  It's never good when your weather man makes this face...


So, I put a halt to building, stacked anything important on top of my workbench in case we got any flooding, secured the garage door with some 2x4's, and hit the road to Charlotte.  The storm took a last minute turn, and my CX4 project lived to see another day.

Left Wing Progress

The left wing is basically done.  I'm leaving the trailing edge off until I have the ailerons so I can make sure the trailing edge of the aileron lines up with the trailing edge of the wing tip.  Here are a few pictures, but basically the same thing as the first wing but on the left side.  I decided to cut the hole in the left wing for pitot static hardware later as mentioned in the build manual.  I'm wondering if it would have been easier to fit the parts while the wing was open.  I guess I'll find out.

Also, the change of plans part of the title is that I decided to buy the ailerons from Greg Westberry.  I don't think mine are right (they don't fit the aileron ribs from the plans), and to rent a truck and a bending brake is almost the cost of the parts minus shipping.  I'll have a separate section for all of the parts I bought from Greg in case anyone is interested.


New Bending Brake

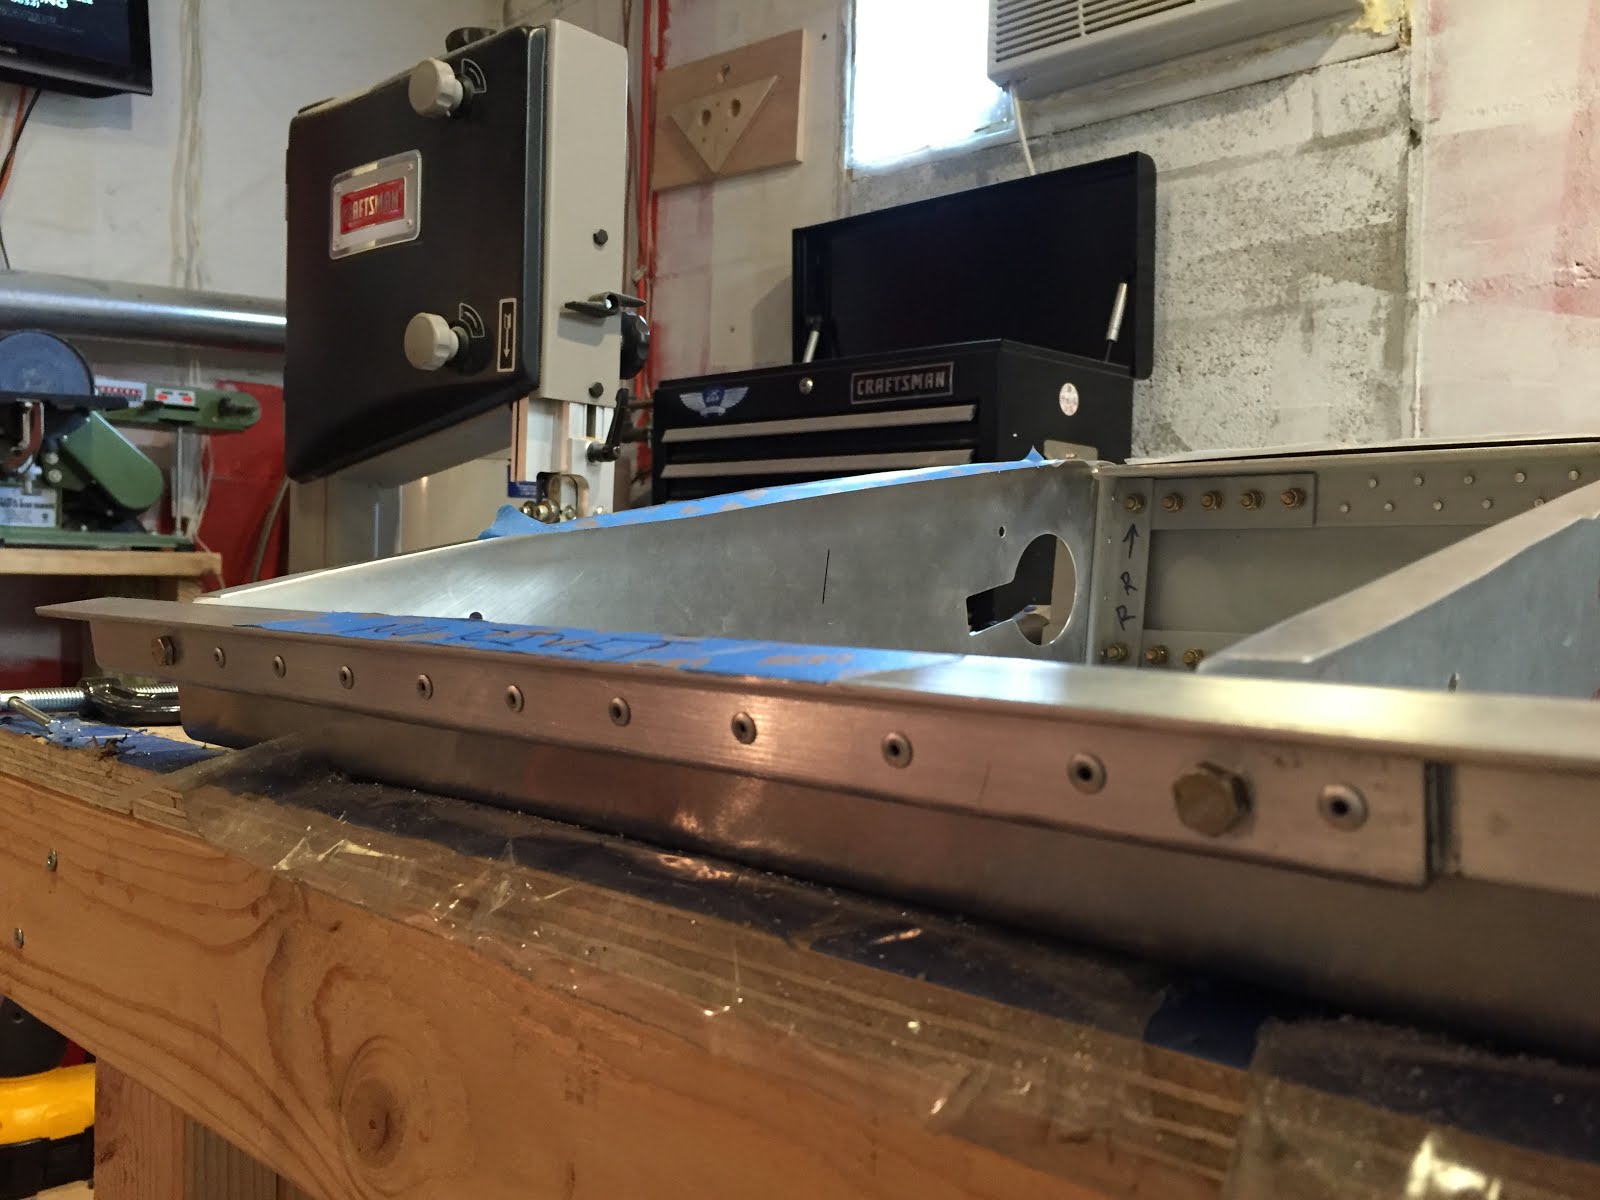
I needed to make a new left wing tip spar, and decided to pick up the Harbor Freight bending brake.  So far, I'm very happy with it!  Here I taped on some bent 020 to increase the bend radius so I don't work harden the material.


Playing around


3D Printing

I have a small 3D printer, and I hope to find ways to use it on this project.  I was thinking the air vent might be a good fit for 3d printing.  Anyhow, I needed to make a new Scotchbrite wheel fit my drill press for deburring.  So I drew up a part, printed it, and it worked really well.  It took about 20 minutes from drawing the part to final product.


Highly recommend the Scotchbrite wheel for deburring.

Starting the Fuselage

The pictures speak for themselves.  The best part was bolting the wings together.  24' is pretty long in a single car garage!


Louie makes an appearance with the forming block...


The seat...


So cool to see the wings bolted on.


And the wings stacked and stored so I can work on the fuselage now...


A present for my dad

I went to Ohio State (forever ago!), and I wanted to get my dad a block-o for his outside bar.  It turns out that no one really makes a good one.  So I decided to use some 6061 and make him one that will hold up.  I was happy with the results...
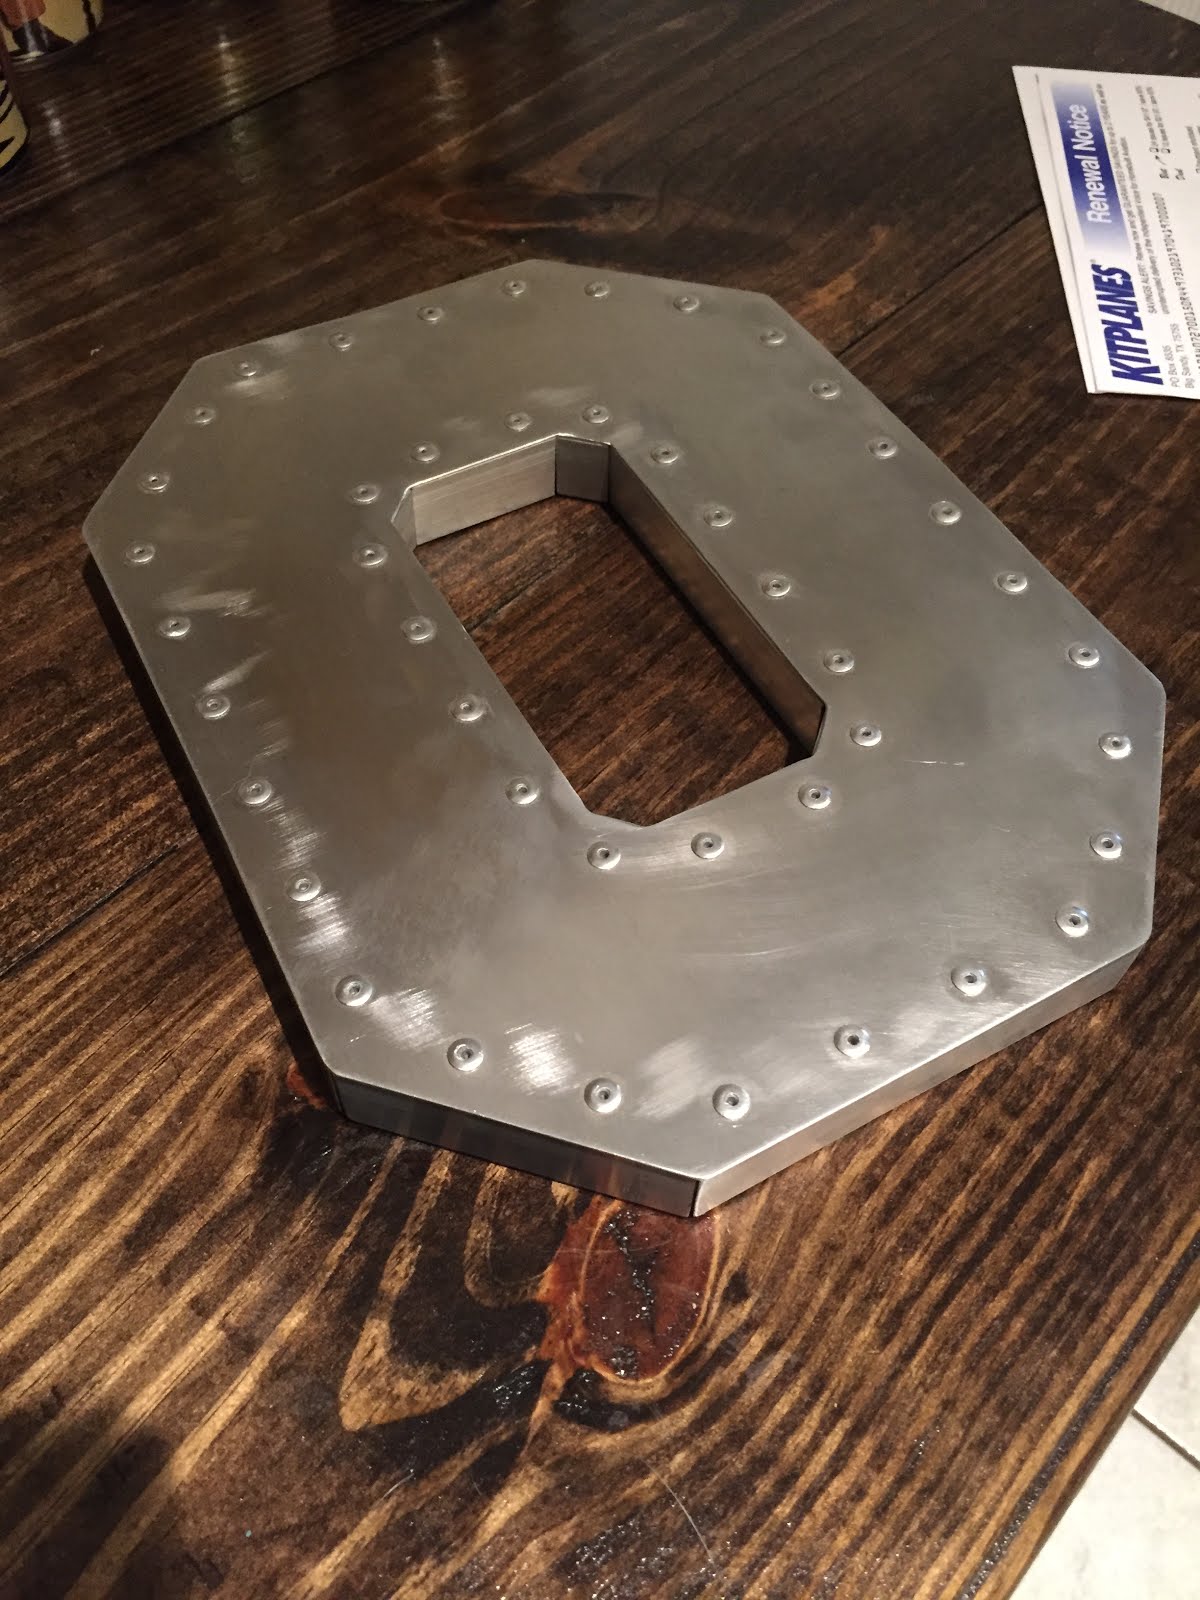


More to come, but time for a xmas party with the friends...


Sunday, October 2, 2016

Leading Edge, Lower Wing Skins and Rear Spar

It's been a while since I've posted, but I've been busy on the right wing.

Since my last post, I was able to:

  • Add nylon hose for tip lights or maybe a leading edge landing light down the road
  • Drill and rivet the leading edge
  • Mount the lower wing skins
  • Fabricate and rivet the rear spar and reinforcement
  • Cut one of the top skins and mark drill holes on it

Leading Edge

The leading edge was a little difficult to work with. but I was able to bend it and attach it on my own.  For some reason I had a hard time picking where to space the rivets.  I just looked at pictures and counted how many rivets other builders had, and that seemed to help.  You can see the lines on the sheet in the image below.   This picture also show the hose I added to run wires through if I want to add lighting later.  I kept it toward the leading edge so it would be easier to add a landing light in the leading edge if I ever felt like it.


I drilled the skins, and marked the center line down the rib to help me align the rib with the hole when matching drilling.  In the picture above, you can see the holes drilled and the center line on the first rib.

Clamping a 2x4 at the base of the leading edge helped to hold it in place.  Then I could add one on the other side to test the fit.  I used the broom handle to align the ribs with the holes I drilled in the skins.  Seemed to work well.


Everything riveted in place.  I left two holes on the top and bottom of the wing root rib empty to maybe use as the screw holes for the wing gap fairing that will need to be added later.  I haven't thought through that whole process yet, but you can see the missing rivets below.  Also, don't forget to leave the out board rib alone (no rivets) so you can attach the wing tips.  I got "rivet happy" and had to drill some out.

Trailing Section

So this is a little bit out of order.  I actually drilled and test fit the rear ribs before attaching the leading edge skin.  Rivets are pretty permanent, so it seemed safer (I don't think it makes much of a difference).

The Dremel with a flexible extension is almost a requirement when drilling the ribs if you want to get a nice perpendicular hole.  

I used the rib alignment jig mentioned in the build manual (make sure your tooling holes on the ribs are all in the same place.  If they are not 100% perfect, you might want to try the method I used to align the nose ribs in an earlier post).

Test fitting the lower wing skins...

Wing skins bent.  I bent them over the straightest 2x4 I found.  Worked okay, but I bought the recommended 3" steel angle since for bends.


More test fitting above, and below with the rear spar (1x1 angle 1/8" thick).


I marked and drilled the lower skins.  Much easier since there is no fluting on the bottom of the rib flanges.  The two bottom skins overlap each other.  Since the wing tip is higher than the wing root once installed on the plan, I decided to make the outboard panel overlap the root panel.  My thought was to keep water out of the wing when tied down.  


Hole Duplicator
For the overlapping section, I made a hole duplicator so that both skins and the wing rib would all be match drilled.  It is a very easy tool to make and uses two 42 blind rivets and one solid rivet from the spars.  Worked great.  Just match drill the lower skin and the rib, then use the duplicator by sticking the solid rivet in the hole and drill the top skin.   Now all three pieces are perfectly match drilled.
To make one...Drill two matched holes in two .040 scrap pieces for BSBS-42 rivets.  Rivet the pieces together.  Then drill a third #30 hole in the opposite end once they are riveted together.  Add a 470-4-7 rivet as a drill guide in the third hole.  Here are some pics.


Below is the riveted wing so far.  I should have done the top skin first as the manual recommends.  My wing is very straight, but I can see how you would use the lower skin to adjust any warping you have.   I'll do the left wing in that order.  


Drilling and riveting the lower spar (again, manual is right.  You should do this last).  That's a lot of holes!

Rear Spar

Not much here to show.  Just drilling a lot of holes.  Make sure your wing is straight and level so you don't add any warping.


Rear spar reinforcement.  Bolt direction is opposite of plans.  I'm not sure if I'll regret this later, but I saw others do it this way on planes that have been flying for a while.  

Test fitting the top skins.  The blue tape is to stop me from riveting what I should not.  I tend to get an itchy trigger finger once I get going.


Feeling a'ri' (as they say in Jamaica)!

Sunday, March 27, 2016

Wing Attachment Fittings Continued

Well, it's Easter, but I managed to sneak out and cut a few parts.  Here's where we stand now.  I recommend the reciprocating saw very much.  Plenty of opportunities to use it around the house too when you're done building airplanes.

Lots of finishing to do, but the rough carts are made on three of them, and #4 is about ready to drill.


This is the saw blade I used to cut them.  In my opinion, way better than the jigsaw.


Friends of ours invited us out on their boat.  Not aviation themed, but a good reminder to stop and enjoy the journey... thanks Ryan and Kristin!


P.S. - All of those cranes mean more people and not enough pelicans!