Showing posts with label Prep work. Show all posts

Wednesday, April 6, 2016

Mylar Templates

Instead of going to Sun-n-Fun, I started to cut out the templates, and way under-estimated the amount of time it will take to get everything cut out.  I spent two hours cutting out the main rib templates, F2 and F7 and transferring them to mylar to later cut out of metal.

I think I'll just make the patterns that are used more than once out of mylar.  Otherwise, I'll just cut them out of the copies I made of the plans to help reduce the time.   That reminds me, I made copies of my plans at a blueprint printer based on some reading I did online.  Two copies of the full set of plans was about $40.  I thought that was reasonable assuming the whole airplane should be about $20,000.

I was nervous about the copies not being accurate, so I used some plexiglass I had laying around and made a quick light box by arranging some boards and a flashlight.  Here is a really bad shot of the end result...


I laid the copies on top of the originals sheet by sheet, and found them to be spot on accurate.  Here is a close up of two plans on top of each other.


Here are the templates I made today.  I keep calling them mylar, but they are basically plastic poster board from Michaels.  Florida gets humid, so I thought they would hold up better.  I also have about 5 other templates cut out of the plan copies that are still just on paper.  I spent about an hour reviewing the plans trying to decide what to do when the templates overlap on the plans.  Dave did this occasionally to fit more on one sheet of paper.  Not a big deal,  just wanted to be sure I wasn't missing anything.  If you notice, there are two rear rib portions.  There is a slight variance in ribs 1-4 to accommodate the spar caps.


Saturday, March 26, 2016

Arbor Press Modification

I'm using the arbor press method for setting my spar rivets.  I bought the Harbor Freight arbor press.  The general idea is that you add a rivet set in the base of the arbor press and set the rivet upside down in the spar.  A few taps with a hand sledge sets the rivet.

Tony Bingelis (of EAA fame) explains the process here:
http://www.eaa.org/en/eaa/aviation-communities-and-interests/homebuilt-aircraft-and-homebuilt-aircraft-kits/resources-for-while-youre-building/building-articles/metal/metal-spar-assembly-tips

Here are the mods I made:

  • Polish the ram that makes contact with the rivet
  • Mount a rivet cupped rivet set in the base
I don't have pictures of the polishing, but I removed the ram from the press and sanded it up to 400 grit sandpaper.  You'd be surprised how nice you can get it.  Then I used various polishing/buffing bits on my Dremel tool to get it mirror smooth.  The idea is that you do not want to add any irregularities to the rivet with a rough ram surface because that could become a stress point that might cause the rivet to fail.  Worth the work

Here are some pics of me mounting a .187 universal cupped rivet set (1/8th) in my arbor press base.  The method seemed to work well.

Lowered arbor press on base (sections of base are different sizes.  I chose the biggest one)

Marked the ram outline on the base and found the center.


Drill the hole.  I drilled with a 1/8" bit first to create a pilot hole.  Then drilled out with the 3/16" bit.  I also measured the length of the shank on the rivet set to determine my hole depth.  Not sure how important that is, but seemed like a good idea. (PS this is an old and super cheap drill press I bought over a decade ago.  Still going strong!)


The result...


UPDATE:  After riveting the spars, I realized that the center is not necessarily where you want to mount your rivet set.  the problem is when you go to rivet on the aluminum angle, the arbor doesn't clear the angle.  To fix it, drill the hole for your rivet set closer to halfway between the center and the back of the square you draw.  The good thing is, you can turn the table on the arbor to drill another hole.  If I did it again, I would drill the holes in your spar caps, take some measurements, then drill the hole for your rivet set.  My two cents...

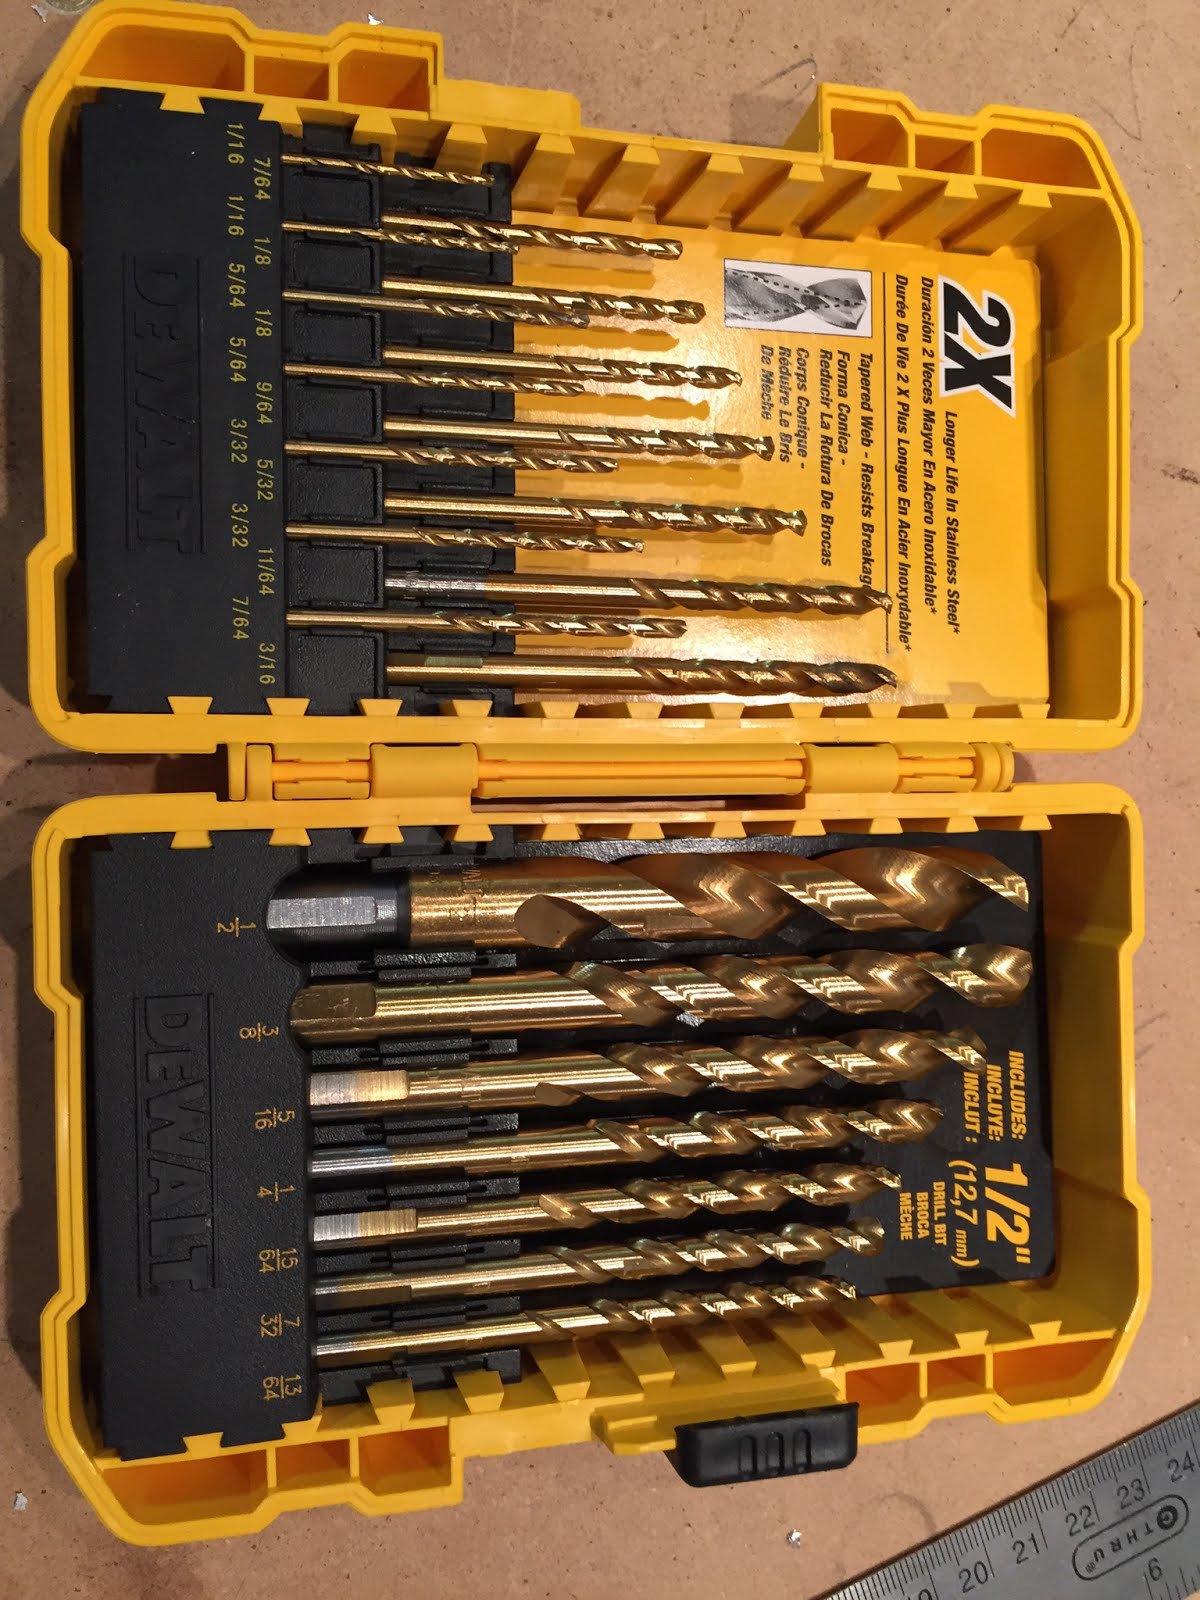
I bought these drill bits at the big hardware store.  Went through it like butter!

Practice Piece

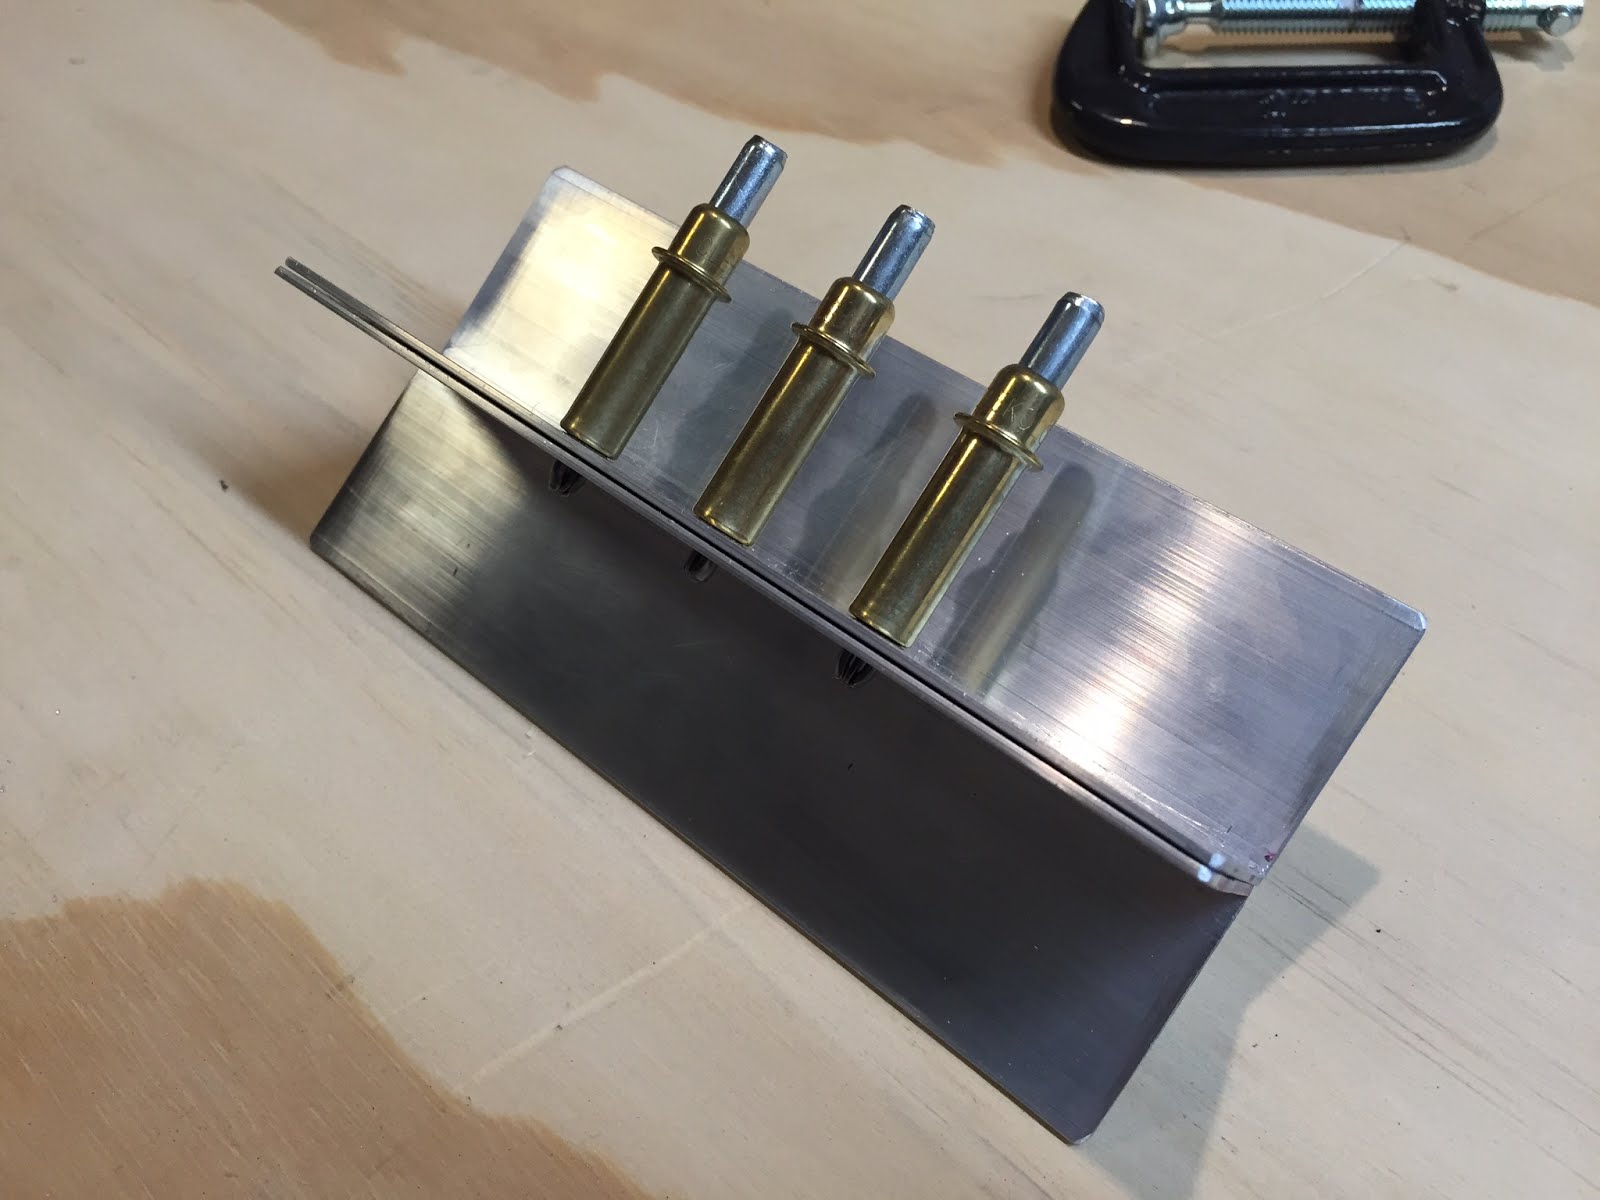
I haven't done a lot of work with metal, so I decided to get some aluminum from the hardware store and try to cut it, sand/file it, drill it, cleco it, and test out the HF rivet gun.  The metal was $8 for 3ft, and I have an idea on how to use the rest of it in the house.  So it is not  a total waste.

Here are a couple of quick shots.  I'm really glad I did this because it gave me some confidence with the bandsaw and drill press.  I'll definitely need to work to drill my holes in a straight line!  I'm also looking forward to getting my scotch-brite wheel this week.


Sunday, March 20, 2016

Setting Up Shop

Well, it's official.  I am the proud owner of plans number 568!  Time to set up shop!

First thing was to clear out the garage and start building the workbench.  I'll be building in our one car garage for now, so organization is going to be key.

I'll get more detailed later, but here is where we are right now.  My bench is 14 feet long.  16ft didn't leave much room on the ends of the table and it's more than the minimum recommendation of 12ft, so it seemed like a good compromise.

I also used 1-1/2" bolts on the bottom of the legs to allow me to level the table.  That method is described here, and worked really well:  http://eaavideo.org/video.aspx?v=4283417659001


...and the official FAA-recommended test.  Yep, it officially holds a big dog.  Done!


Update 4/6/16:  The table is solid (especially when the two are attached), but I would recommend using 2x6 instead of 2x4 around the upper frame that the legs attach to.  I think that would really make it rock solid.  No issues, but I wonder what will happen when/if I separate the two tables.