Saturday, May 21, 2016

Finished Drilling Right Main Spar

Today I finished all of the drilling for the right main spar.  Feels good to have it done!  One more to go if I counted right :-)


Test fit looks good.


It's starting to get hot in Florida.  Time to jump in the pool...

Friday, May 20, 2016

Right Wing Spar Drilling

I took a vacation day today and drilled some holes (that's how you know you're addicted!).  I'm excited about the results.  Just clecoed with the lower spar only, it is pretty amazing how stiff the wing spar is.  I also marked the holes for the top spar cap.  I think I'll have some time in the morning to drill that one.


I drilled the cap clamped together, but without the spar web (the skinny flat piece).  Then I used the spar cap as a guide to drill the web.  I think this is easier than trying to drill with all of the pieces clamped together.

Sunday, May 15, 2016

Drilling holes in 4130

I'm drilling into the 4130 brackets and center spar.  Here's a quick picture or two of the progress.  I drilled the 4130 first, and use that as a template clamped to the spar to drill the spar (taped them together in pairs to keep match drilled parts together).  Seems to work.  More to come soon!


Lots of metal!

Sunday, May 8, 2016

Dihedral, Rib Brackets, Center Spar Drilling

Had a lot of shop time this weekend (Thanks, Jess!) and was able to accomplish the following:

  • Cut 7/16" out at root of right spar for dihedral.
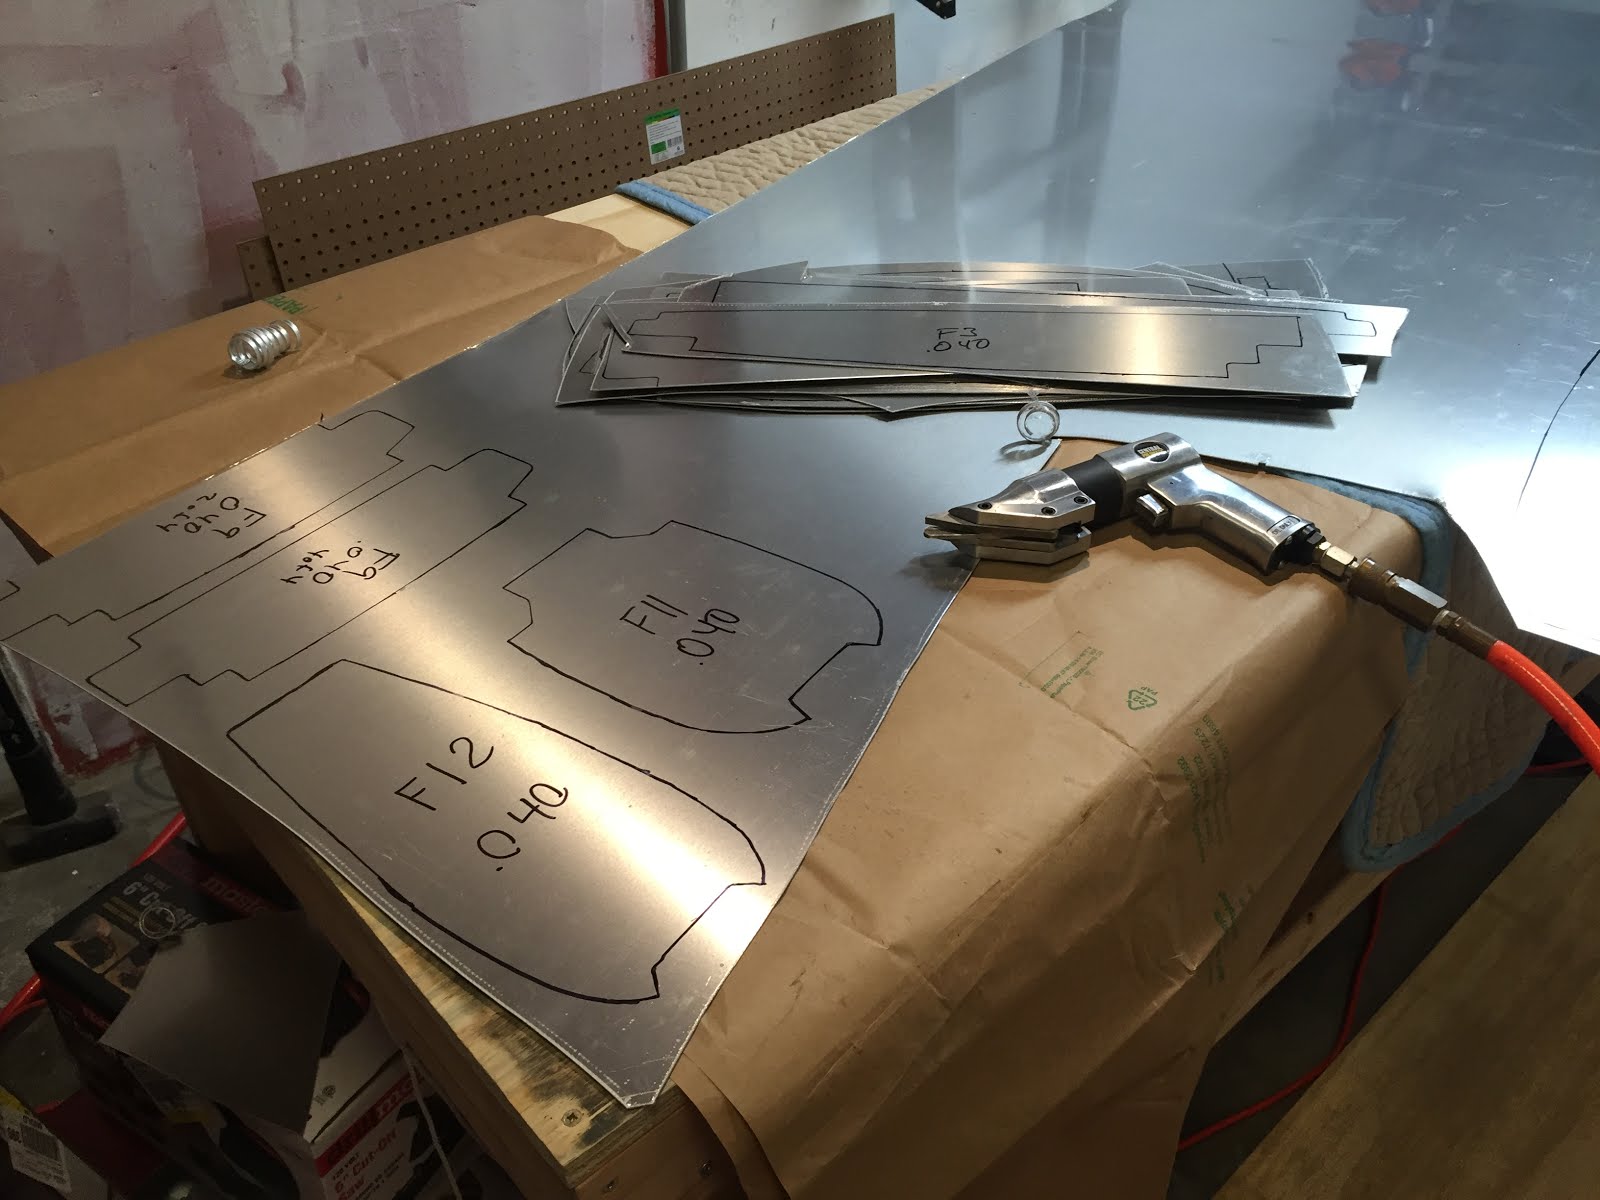
  • Cut all rib brackets from aluminum angle for right wing and center spar.
  • Drilled 3/32" pilot holes for rivets and bolts in center spar.

Right wing dihedral
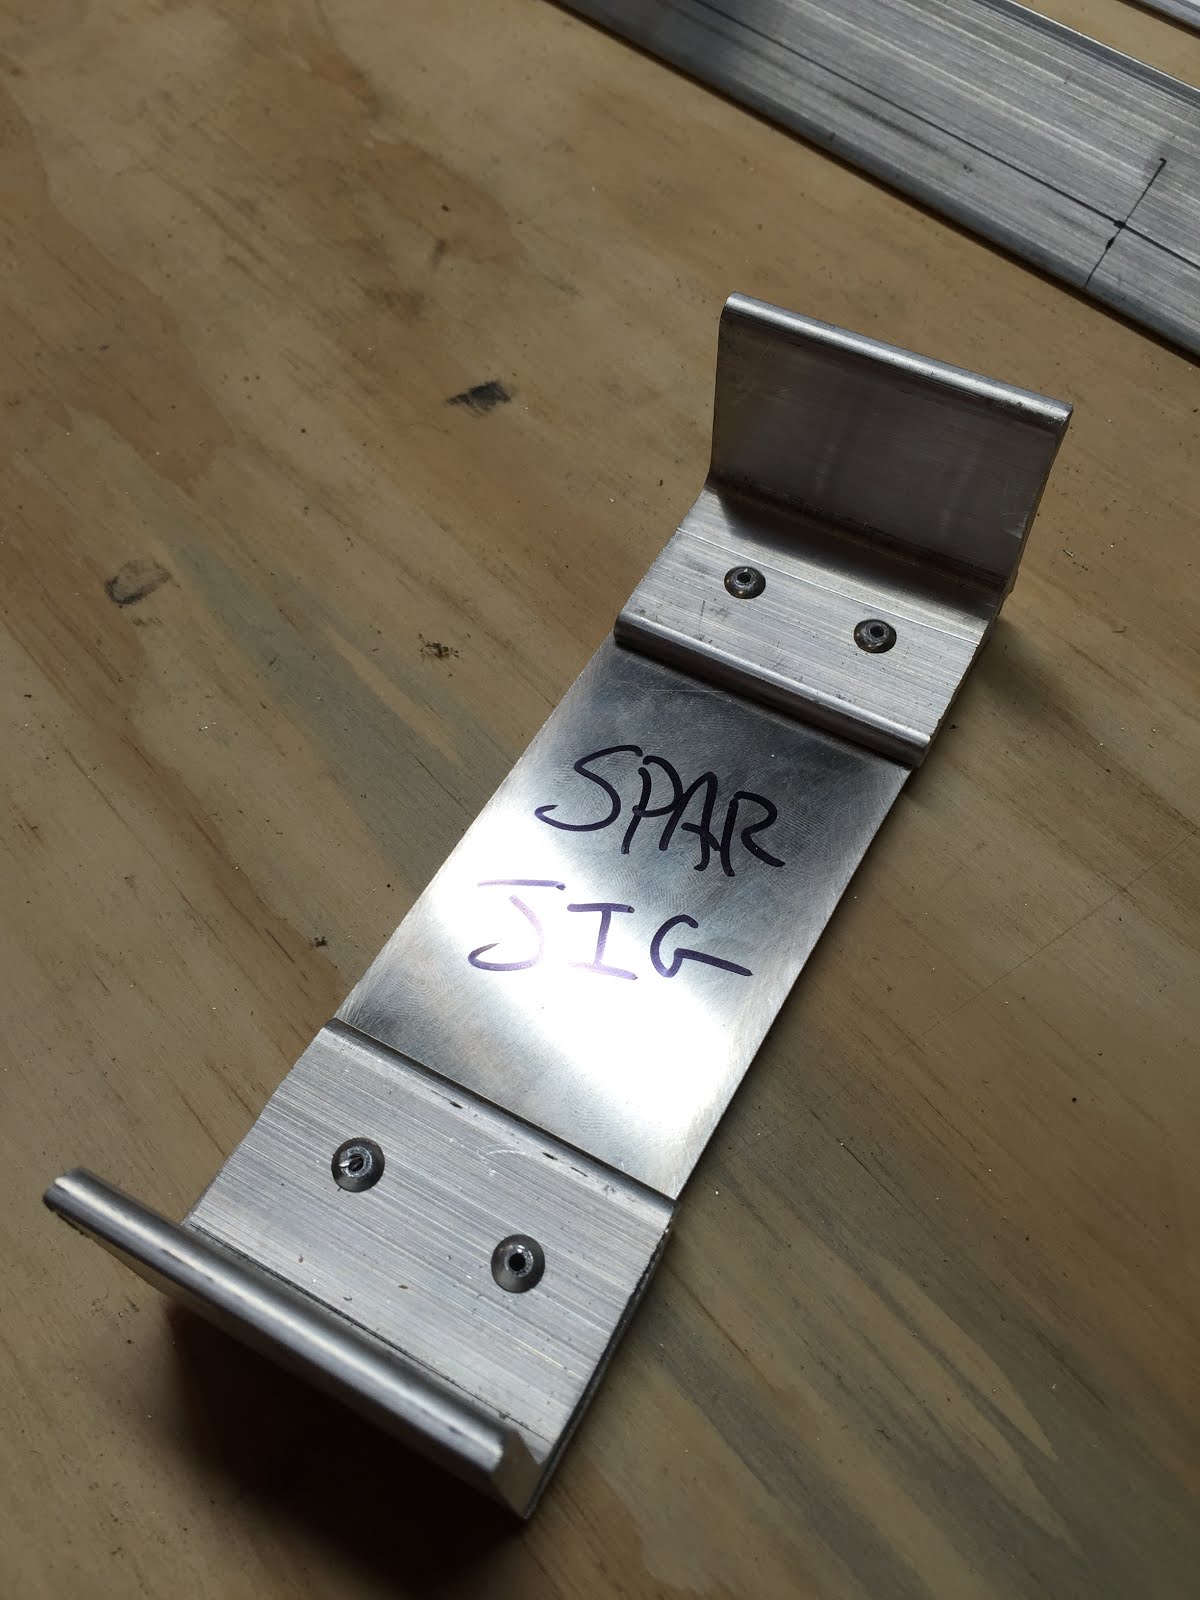
I was happy with how this went.  I cut the spar web with Andy Shears and notched the spar caps with a jigsaw followed by various sanders and files to smooth them out.


Below is a test fit with the 4130 brackets I made earlier. 


Rib Brackets
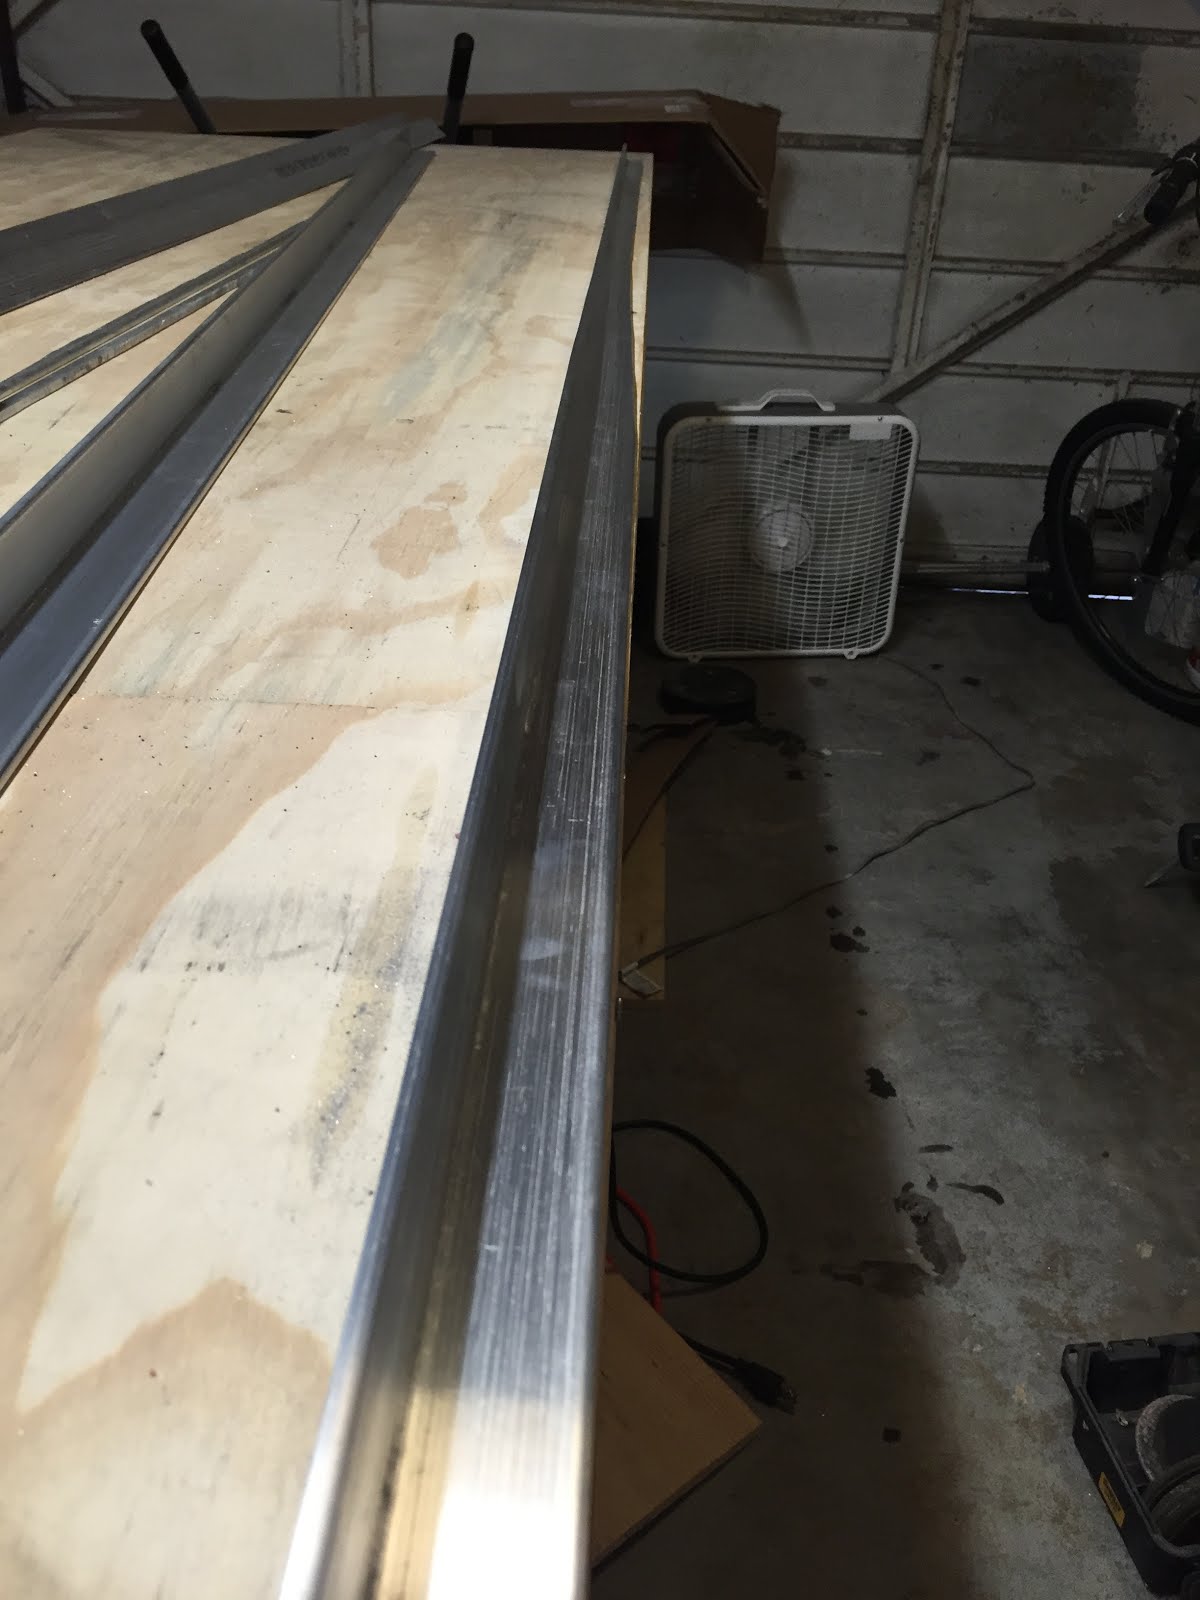
So far these have been pretty easy.  They are made out 1"x1" angel or 3/4"x3/4" angle depending on the location.

Here the angles are set in place.  This is the back of the wing.  The angles sitting above the spar will go on the front of the spar.

I cut them so they would fit exactly inside the spar caps, but the root of the angle on the inside is rounded, so I had to sand them all back a bit on the disc sander.   This shows the curve inside the angle and why they have to be cut a little shorter (which is clearly shown on the plan too).


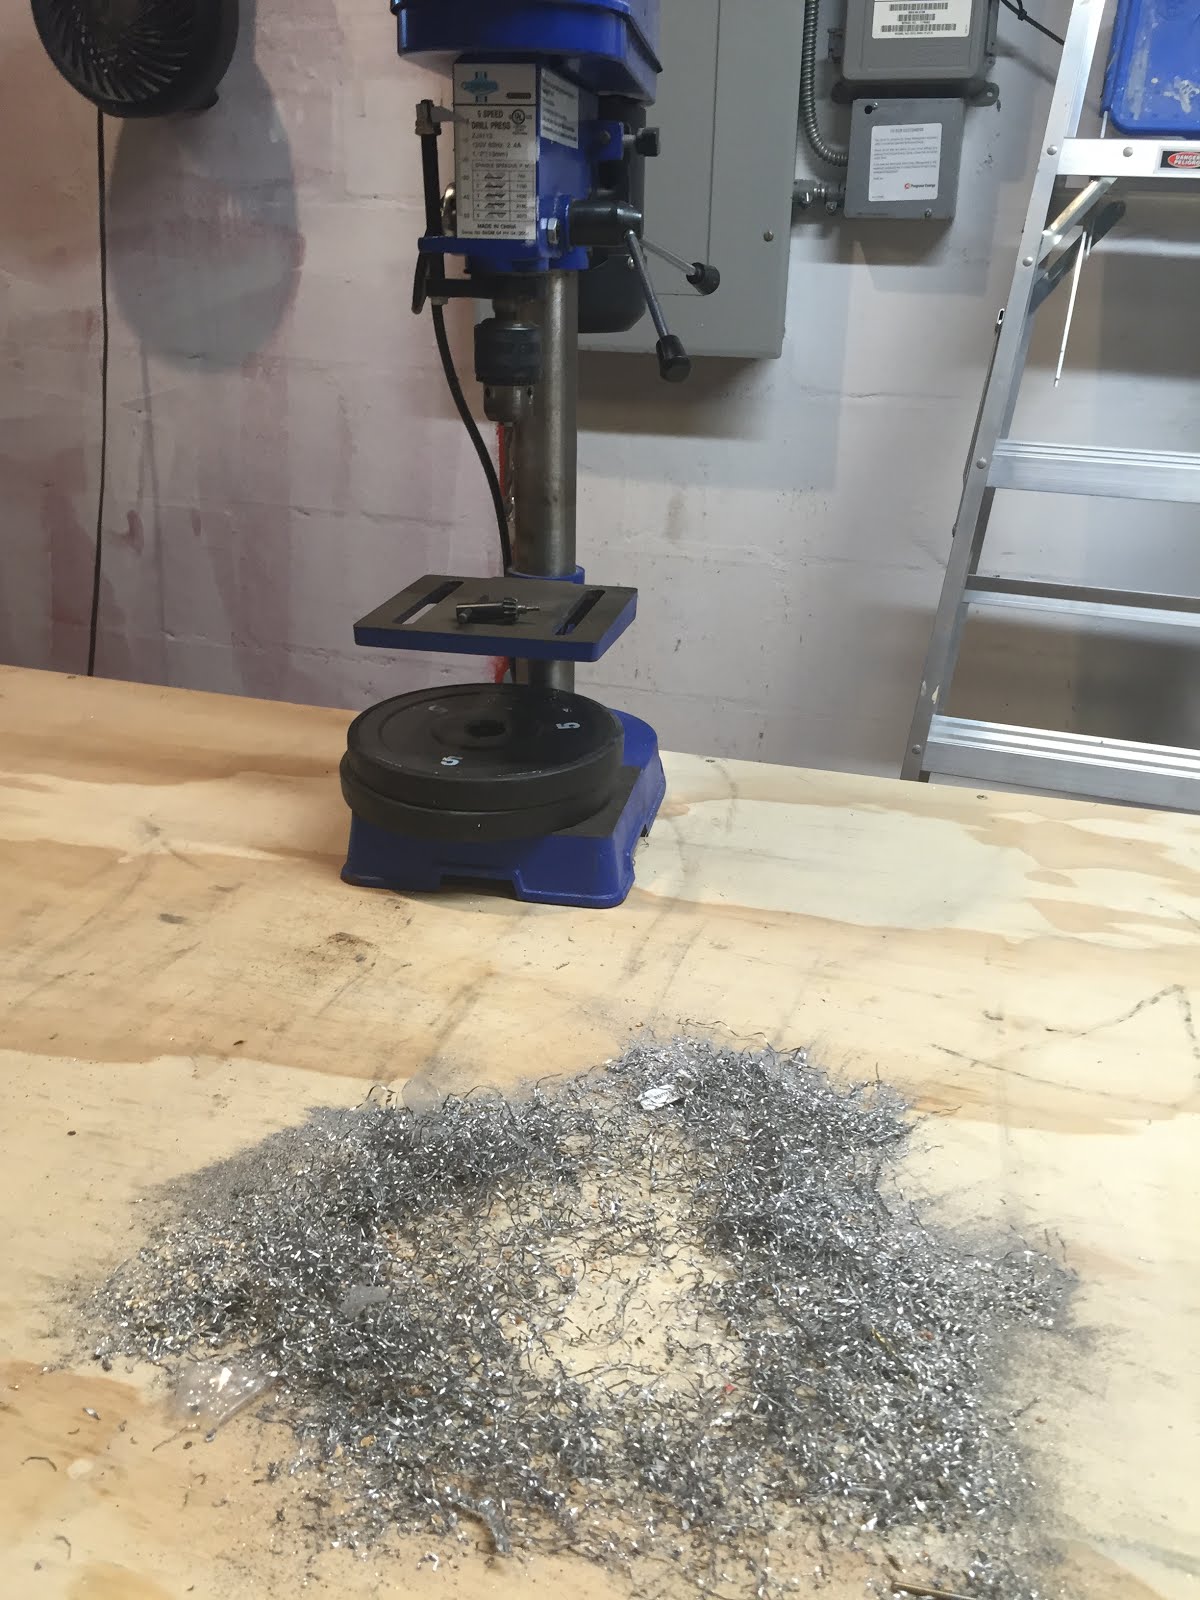
Lot of aluminum dust everywhere!


Drilling Center Section Spar Caps
I used my rivet fan to mark all the holes I have to drill in the 2024 bar that is the front of the spar.  I left the holes for the 4130 brackets alone for now.  Thought I would learn a little before I take those on.


Then I clamped everything together. and started drilling.  In this picture I had 4 clamps, but in the second picture I started using a combination of additional clamps and clecos to hold things together while I drilled.


Holey Spar!

It's officially beer-thirty.


Sunday, May 1, 2016

Measuring Dihedral for Right Wing

Today I measured and marked the cuts needed for the right wing's dihedral.  I thought it would be good to do this before doing any work on the left wing spar so I don't accidentally ruin both wing spars if I make a mistake.

I like these shots.  For the first time I can start to visualize an airplane wing.


I made a paper template to help me measure the cuts for each piece.  I can just align the part on this template and mark where I need to cut.  It would be reverse for the left wing.


Here are the marked up parts ready to cut.  I also marked the 2" cut I need to make in the spar caps for the wing attachment brackets.


Saturday, April 30, 2016

Another Spar Cap Tapered

No pictures today, but was able to finish tapering another spar today.  That means two down and two to go before I get to start drilling and assembling the spars.  Exciting stuff!

Wednesday, April 27, 2016

1 Tapered Spar...3 to go...

Yesterday and today, I spent a total of 2.5 hours in the garage.  I cut another side of one of the spar caps last night and sanded and smoothed both cuts.   That leaves 3 to go.  So I guess another 7 hours or so.  I think it will go faster since I was learning on this one.

I bought a new bandsaw blade and decided to try that.  I actually think I like the reciprocating saw the best for this.  Just have to be careful not to cut too close.  I think I'll save the bandsaw for crosscutting the extruded angles.

Here are some pics of the rough cut with the bandsaw, and the final product filed and sanded smooth.

Rough Cut


Filed and Sanded
Lined it up with the workbench so you can see the taper.


In my opinion, the trick here is to remember that you can always remove more material, but you can't add it back later.


Sunday, April 24, 2016

Spar Jigs and Tapering Spar Caps

Today I created the two jigs that are used to ensure that the spars are 5.5" tall.  Pretty straight forward.


This shows how they are used to align the spar parts for drilling and riveting.


I also started marking the taper in the spar caps.  I made 1 cut.  I used a jigsaw and actually had a lot of luck with a reciprocating saw.  I will have to sand/rout the edges smooth, but the cuts are still faster than the 4130 cuts.


The taper is hard to see, but the spar cap goes from 1.5" to 1" over a 20" span.  Rumor has it, this removed about 3 lbs of unnecessary weight.


Today I used the Harbor Freight Digital Caliper to make my jig. It might have been overkill, but was happy to try it out.  Not bad for $18.


Saturday, April 23, 2016

Cutting Wing Spar Parts

I had a productive day today.  I updated the materials list for an outdoor TV cabinet on my other website (www.buildbuydiy.com) and spent 4 hours in the shop building airplane parts.  Today I cut most of the pieces for the center and wing spars.  I just need to taper the main spars before I'm ready to start drilling holes for the bolts and rivets.

Here are all of the parts I cut today.  Doesn't look like much but there is a lot sanding and finishing after the cutting is done.  All cuts were done with a jigsaw today.  My bandsaw isn't cutting straight, and I didn't feel like troubleshooting it.


Testing fit the major parts of the center section spar.  Looks good!


This shows where the 4130 parts I made in earlier posts go.


Tool of the day goes to the Scotch Bright wheel.  This is a great way to debur parts fast using a drill press.


Friday, April 22, 2016

Rough Cut Wing Ribs and Bulkheads

UPDATE:  I've since decided to buy the bulkhead kit from Greg Westberry.  Yes, the work in this post was a waste, but making all of the wood forming blocks was going to take a lot of time.  

Last night I used my air shears for the first time.  They're the greatest thing since the Olfa cutter (which was yesterday)!  I traced all of the .040 pieces onto the metal (mostly fuselage bulkheads) and rough cut them with the air shears.  Smooth like butter!

I also cut out .020 ribs and one leading edge.  My goal was to breakdown the 4x12 sheets of aluminum into a pile of something more manageable in a one car garage so I can have room to build my spar.

Here are some pictures...

Cutting bulkheads


Stack of rough rib blanks.  I'm going to use a router and a wood form to make the final shapes 4 at a time.


Rough cut leading edge of one wing


Time to go to work!


Wednesday, April 20, 2016

Markers, Templates and Web Spars

After a business trip, a cruise, and the flu; I'm back building.  I snuck in a few hours here and there and managed to get the ribs all traced onto a sheet of .020 6061, traced/cut out all of the .040 part templates onto paper templates, and tonight I measured and cut my spar webs.

Here are some pictures...

The .020 sheet marked up for the rib blanks.


Tracing paper templates and the results.  Sometimes I just cut straight from the copy I made of the plans.  When templates overlapped each other, I traced them using some tracing paper.


Cutting web spars with the Olfa PC-L cutter.  This thing is great.  If you're debating going this route, it was $11 on Amazon.  Measuring and cutting all three took me an hour, and the results are impressive.  It even comes with extra blades in the handle.  Well worth the investment.


Using the Olfa.


The cut web spars.


Wednesday, April 6, 2016

Mylar Templates

Instead of going to Sun-n-Fun, I started to cut out the templates, and way under-estimated the amount of time it will take to get everything cut out.  I spent two hours cutting out the main rib templates, F2 and F7 and transferring them to mylar to later cut out of metal.

I think I'll just make the patterns that are used more than once out of mylar.  Otherwise, I'll just cut them out of the copies I made of the plans to help reduce the time.   That reminds me, I made copies of my plans at a blueprint printer based on some reading I did online.  Two copies of the full set of plans was about $40.  I thought that was reasonable assuming the whole airplane should be about $20,000.

I was nervous about the copies not being accurate, so I used some plexiglass I had laying around and made a quick light box by arranging some boards and a flashlight.  Here is a really bad shot of the end result...


I laid the copies on top of the originals sheet by sheet, and found them to be spot on accurate.  Here is a close up of two plans on top of each other.


Here are the templates I made today.  I keep calling them mylar, but they are basically plastic poster board from Michaels.  Florida gets humid, so I thought they would hold up better.  I also have about 5 other templates cut out of the plan copies that are still just on paper.  I spent about an hour reviewing the plans trying to decide what to do when the templates overlap on the plans.  Dave did this occasionally to fit more on one sheet of paper.  Not a big deal,  just wanted to be sure I wasn't missing anything.  If you notice, there are two rear rib portions.  There is a slight variance in ribs 1-4 to accommodate the spar caps.


Unrolling Aluminum for the First Time

I was a little nervous about how much energy was stored up in a roll of aluminum from everything I read online.  Today I decided to cut the tape and see what happens.  Here is a quick video of that process in case anyone else is nervous too.

This roll had one sheet of .020 and one sheet of .040 6061 in it.  Both rolls are 4ft by 12 ft.


I'm going to make some mylar templates today and rough cut the shapes of the spar web, ribs and bulkheads.  I'm building in a one car garage, so i need to get the 4x12 sheet down to manageable sized parts, but I need the .040 for the spar web.  Heading on a cruise tomorrow, so no building this weekend (first world problems, I guess!).

Thursday, March 31, 2016

Finished up the Wing Brackets

I finished up the wing brackets (name?) today.  I still have to round some corners and drill some holes, but the heavy cutting and shaping is done.  I'm not going to have much time to work on it the next ten days or so, but I will have next Wednesday off to start fabricating the spars all day.

The "finished" parts.


The "finished" hands!