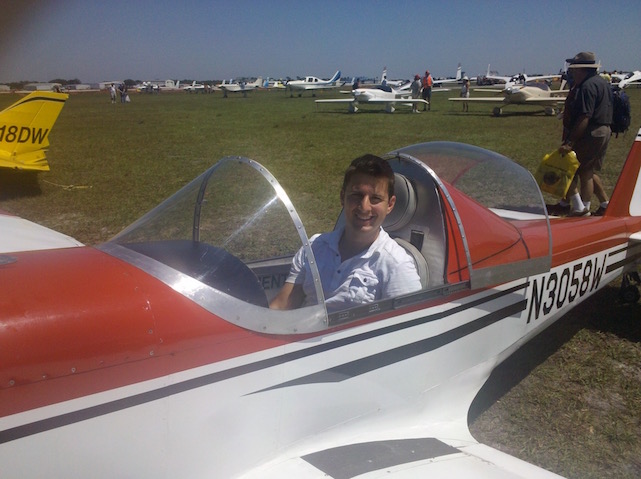
That's quite the title, but it's been a really long time since I've updated this log, and a lot has happened.
Hurricane Irma
We live in the Tampa Bay area, and Irma was originally heading our way. It's never good when your weather man makes this face...

So, I put a halt to building, stacked anything important on top of my workbench in case we got any flooding, secured the garage door with some 2x4's, and hit the road to Charlotte. The storm took a last minute turn, and my CX4 project lived to see another day.
Left Wing Progress
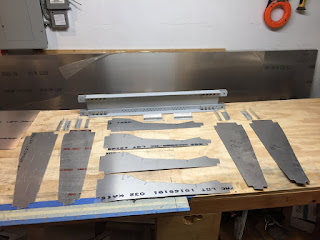
The left wing is basically done. I'm leaving the trailing edge off until I have the ailerons so I can make sure the trailing edge of the aileron lines up with the trailing edge of the wing tip. Here are a few pictures, but basically the same thing as the first wing but on the left side. I decided to cut the hole in the left wing for pitot static hardware later as mentioned in the build manual. I'm wondering if it would have been easier to fit the parts while the wing was open. I guess I'll find out.
Also, the change of plans part of the title is that I decided to buy the ailerons from Greg Westberry. I don't think mine are right (they don't fit the aileron ribs from the plans), and to rent a truck and a bending brake is almost the cost of the parts minus shipping. I'll have a separate section for all of the parts I bought from Greg in case anyone is interested.


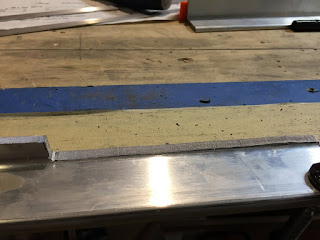
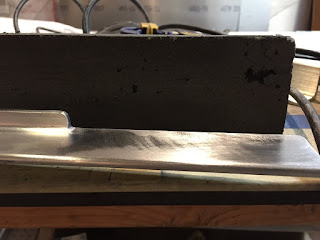
New Bending Brake
I needed to make a new left wing tip spar, and decided to pick up the Harbor Freight bending brake. So far, I'm very happy with it! Here I taped on some bent 020 to increase the bend radius so I don't work harden the material.

Playing around

3D Printing
I have a small 3D printer, and I hope to find ways to use it on this project. I was thinking the air vent might be a good fit for 3d printing. Anyhow, I needed to make a new Scotchbrite wheel fit my drill press for deburring. So I drew up a part, printed it, and it worked really well. It took about 20 minutes from drawing the part to final product.


Highly recommend the Scotchbrite wheel for deburring.
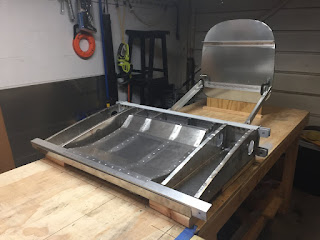
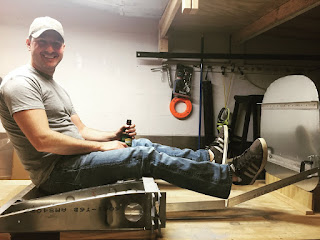
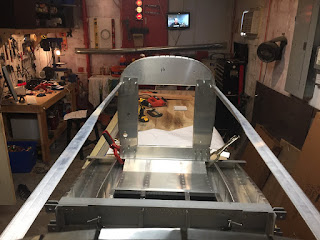
Starting the Fuselage
The pictures speak for themselves. The best part was bolting the wings together. 24' is pretty long in a single car garage!
Louie makes an appearance with the forming block...


The seat...

So cool to see the wings bolted on.


And the wings stacked and stored so I can work on the fuselage now...

A present for my dad
I went to Ohio State (forever ago!), and I wanted to get my dad a block-o for his outside bar. It turns out that no one really makes a good one. So I decided to use some 6061 and make him one that will hold up. I was happy with the results...


More to come, but time for a xmas party with the friends...